For several years I decorated Christmas trees for extra money during the holidays. This was a skill I learned working at Dillard’s as one of their visual merchandising managers. It was my favorite part about that job and I still miss getting the planograms for the trees each year.
It always amazes me how many people don’t know how to decorate a Christmas Tree. Really, all you need to do is throw some decoration on a tree and be done!
But, if you are like me, I want an aesthetically pleasing tree; a theme if you will.
Several years ago I purchased my pre lit 7.5 foot tall tree from Trees and Trims. I am a traditionalist at heart, so when it comes to Christmas, I choose to go with red, gold and hits of green to add a pop of dimension.
I️ am pretty quick when it comes to putting up a tree. The misconception is you need tons of ornaments and tons of extras and that is just not the case.
To begin, assemble tree, with the lights on to be sure you do not need to replace any lights. Go ahead and fluff the branches too. If it’s a brand new tree or ones you have had in a box, the tree will need some life brought to it. Find the perfect location: I decided on a little corner right by my couch. I had to move some furniture around in my living room to ensure it wasn’t in the way.

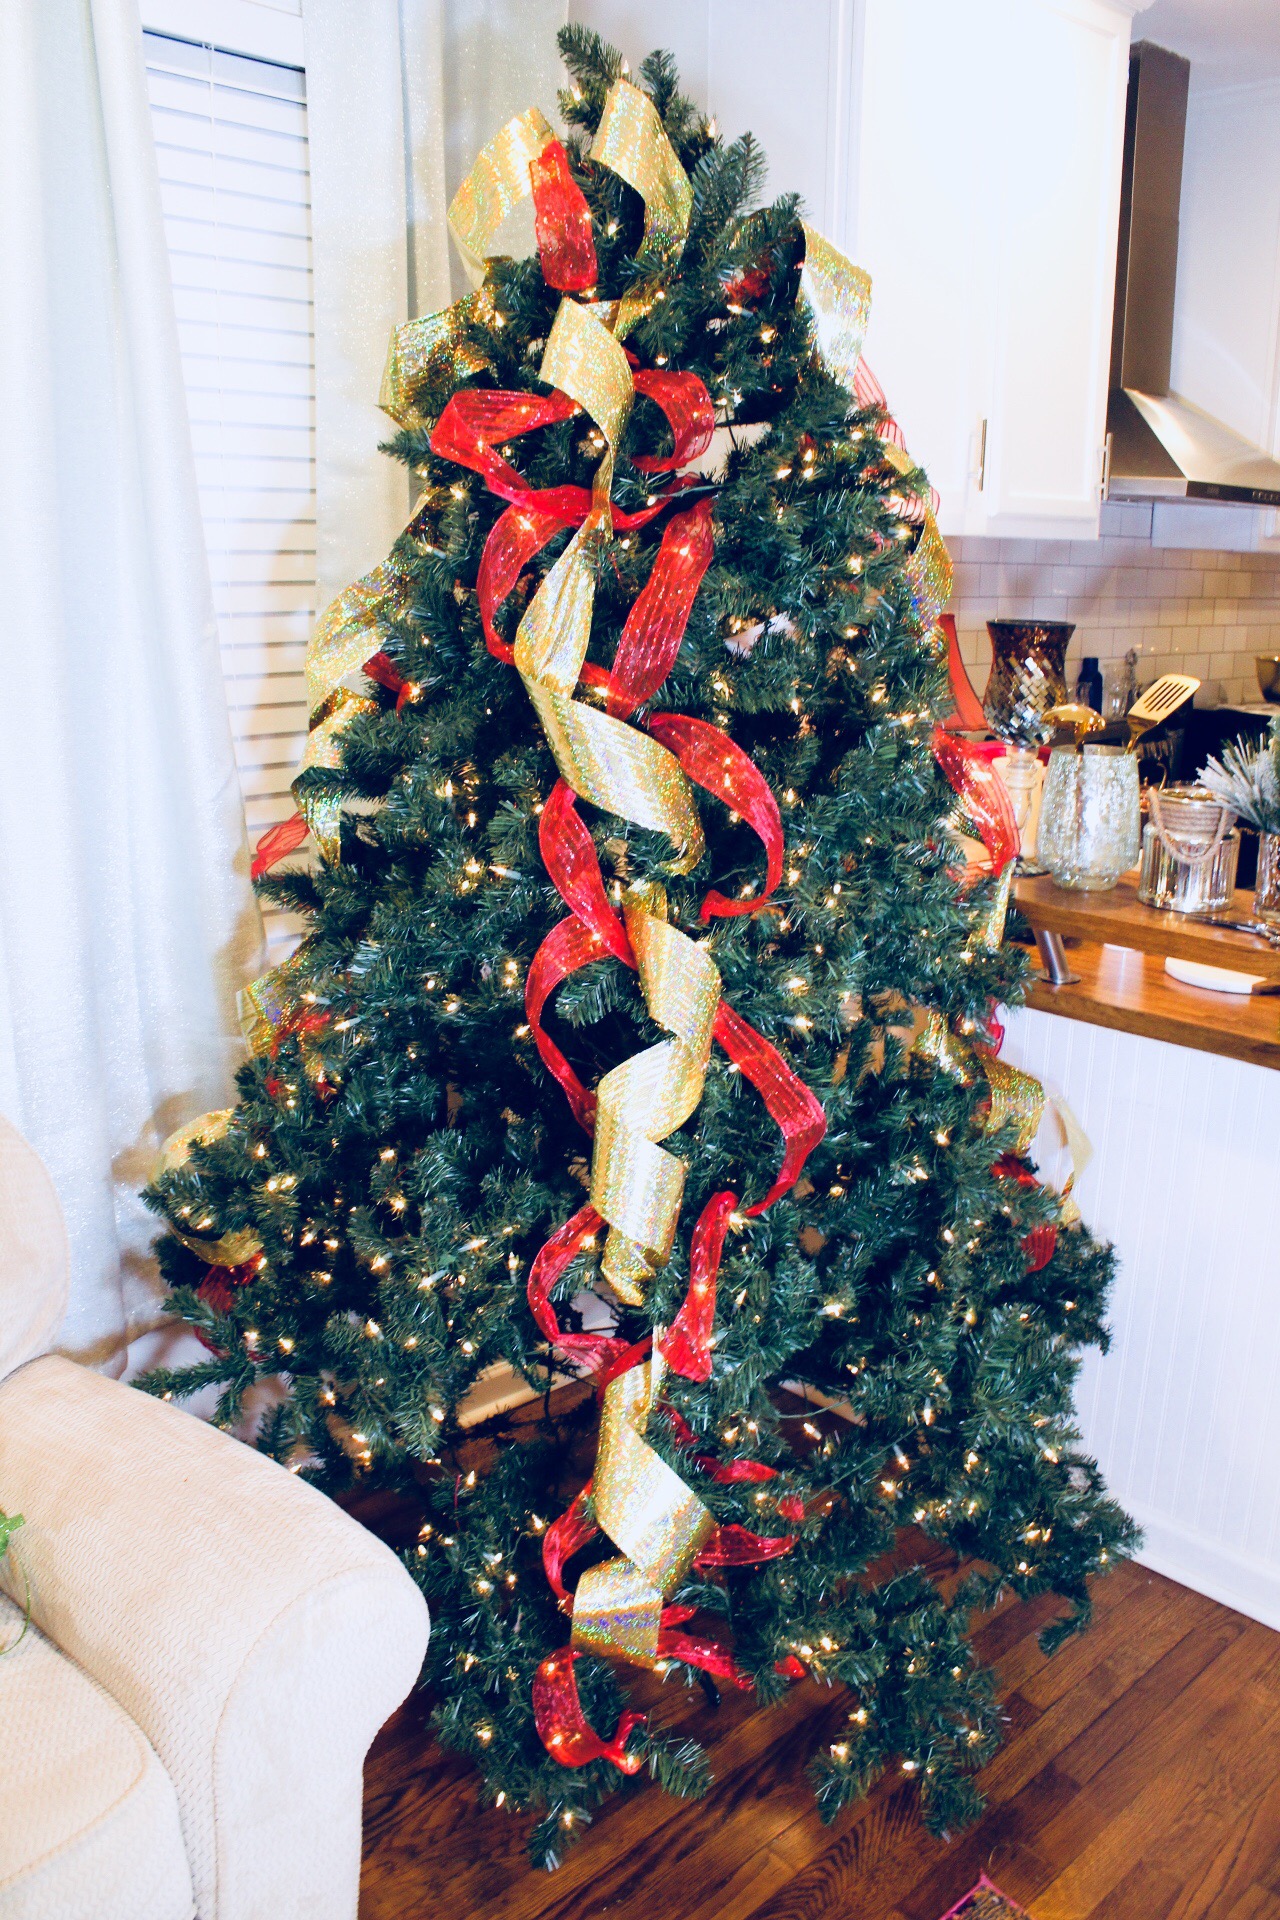
Once you have fluffed the tree, you will need to add the ribbon. I always have three types of ribbon on my tree. It sets the color theme that will be throughout the tree and it always helps to add dimension.

The first type of ribbon is your traditional Christmas ribbon with wire on both sides. This ribbon is easily manipulated and will help guide you for the rest of the ornaments. I suggested twisting it and tacking it to the tree every few Inches by using the branches. I personally like my ribbon to cascade down the tree, almost like a waterfall of ribbon.

The second type of ribbon is actually a heavy duty outdoor ribbon that thick and sturdy. Super easy to manipulate, it creates beautiful large curls.
The third ribbon comes very last 😏
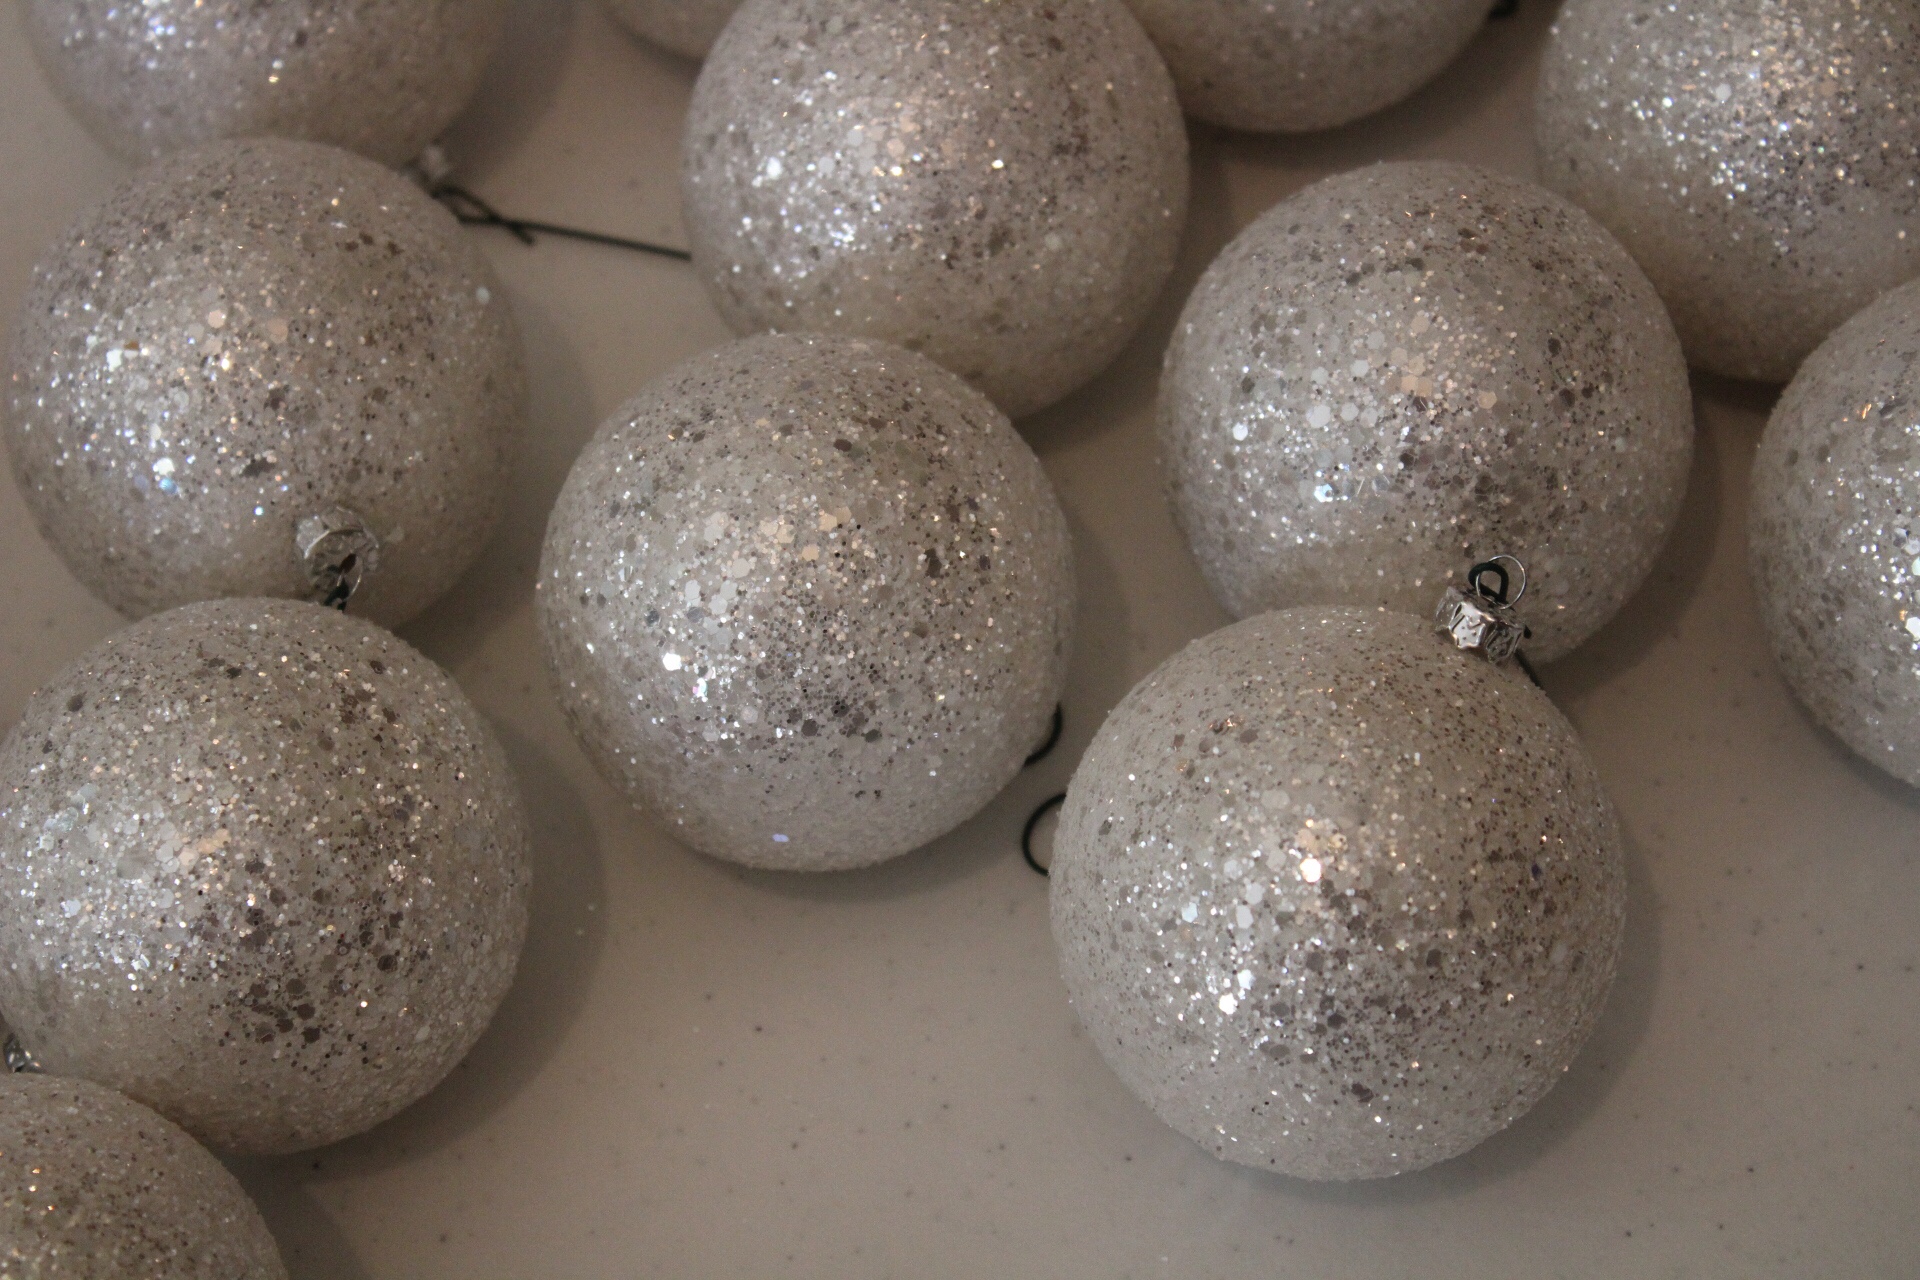
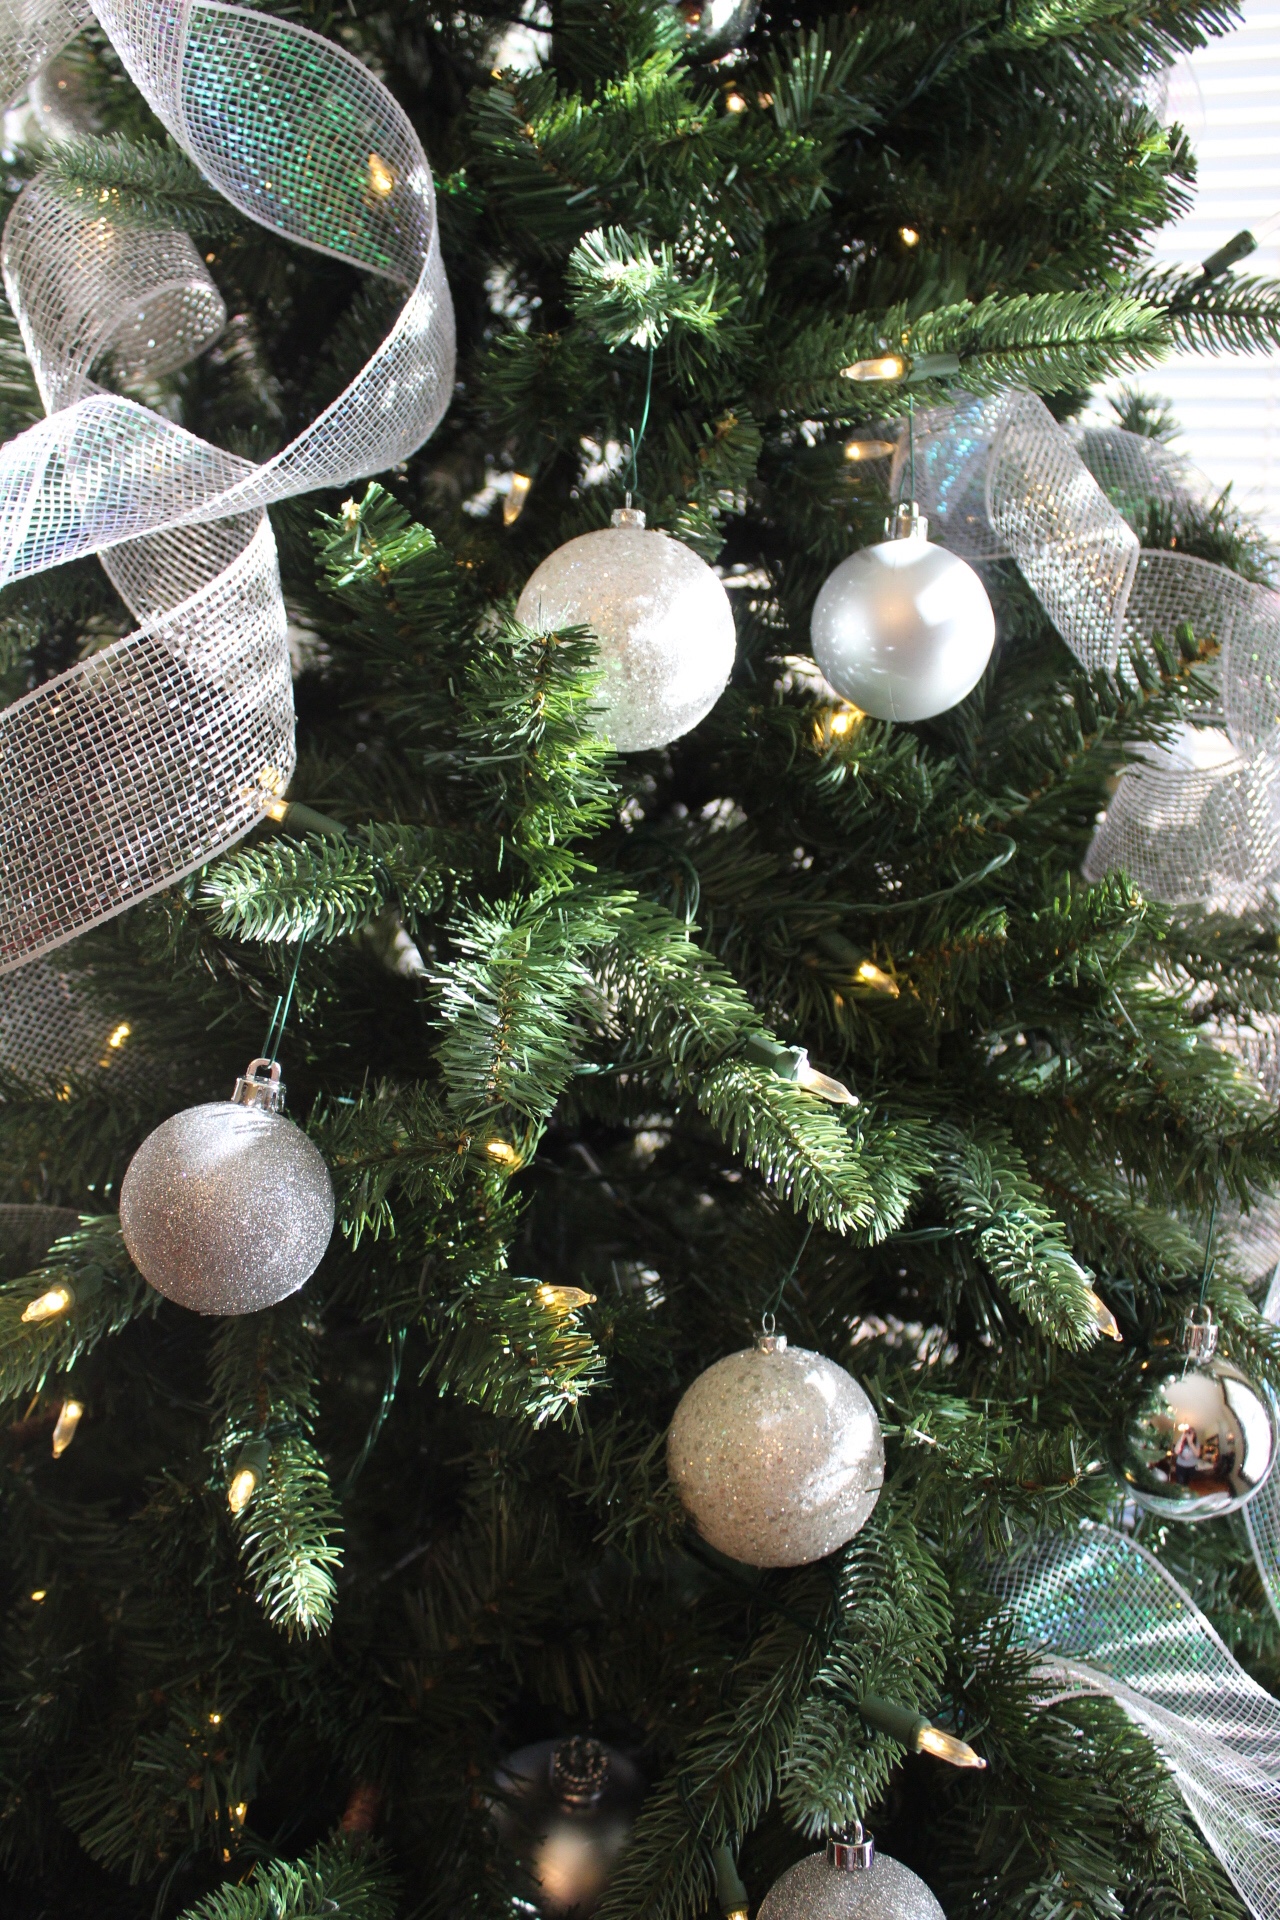
Now this will probably sound really OCD, but I sort my ornaments before placing them. First you want to put on the largest of the ornaments. The largest ones should be hung deep within the tree. This technique fills up any space there may be. From there you will begin to add mid size ornaments. These are typically solid in color but could have glitter or even sequins.

I make sure to evenly distribute these ornaments. Don’t forget the back! You don’t want your tree to fall over!
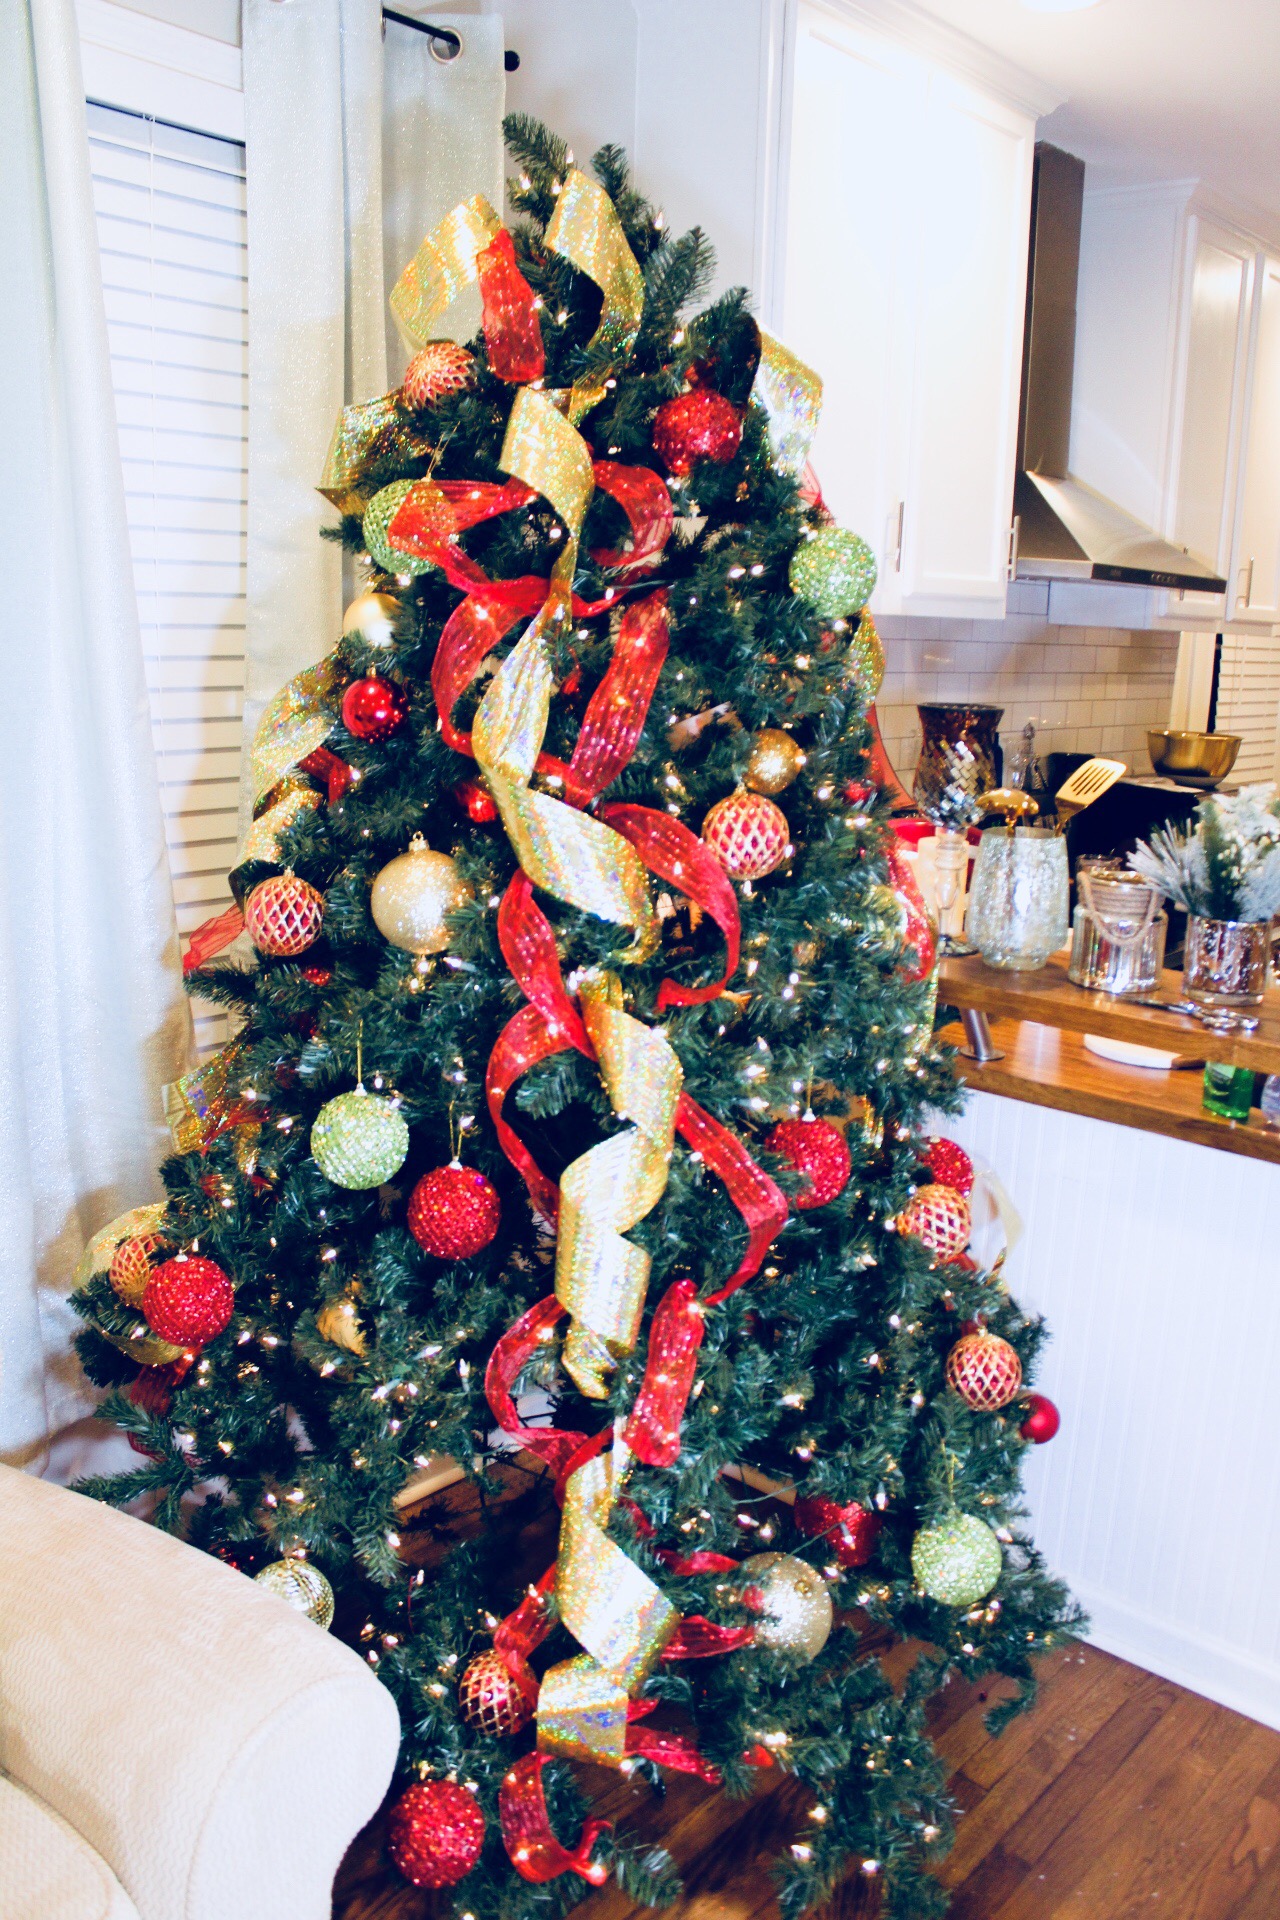
From the above photo, you could stop here if you wanted. But after these larger ornaments is when you want to add the more intricate/color-pop.

You don’t need a ton of these. Distribute evenly again.
I love to add beautiful Poinsettias to catch the eye. I bought all of these from Hobby Lobby years ago.
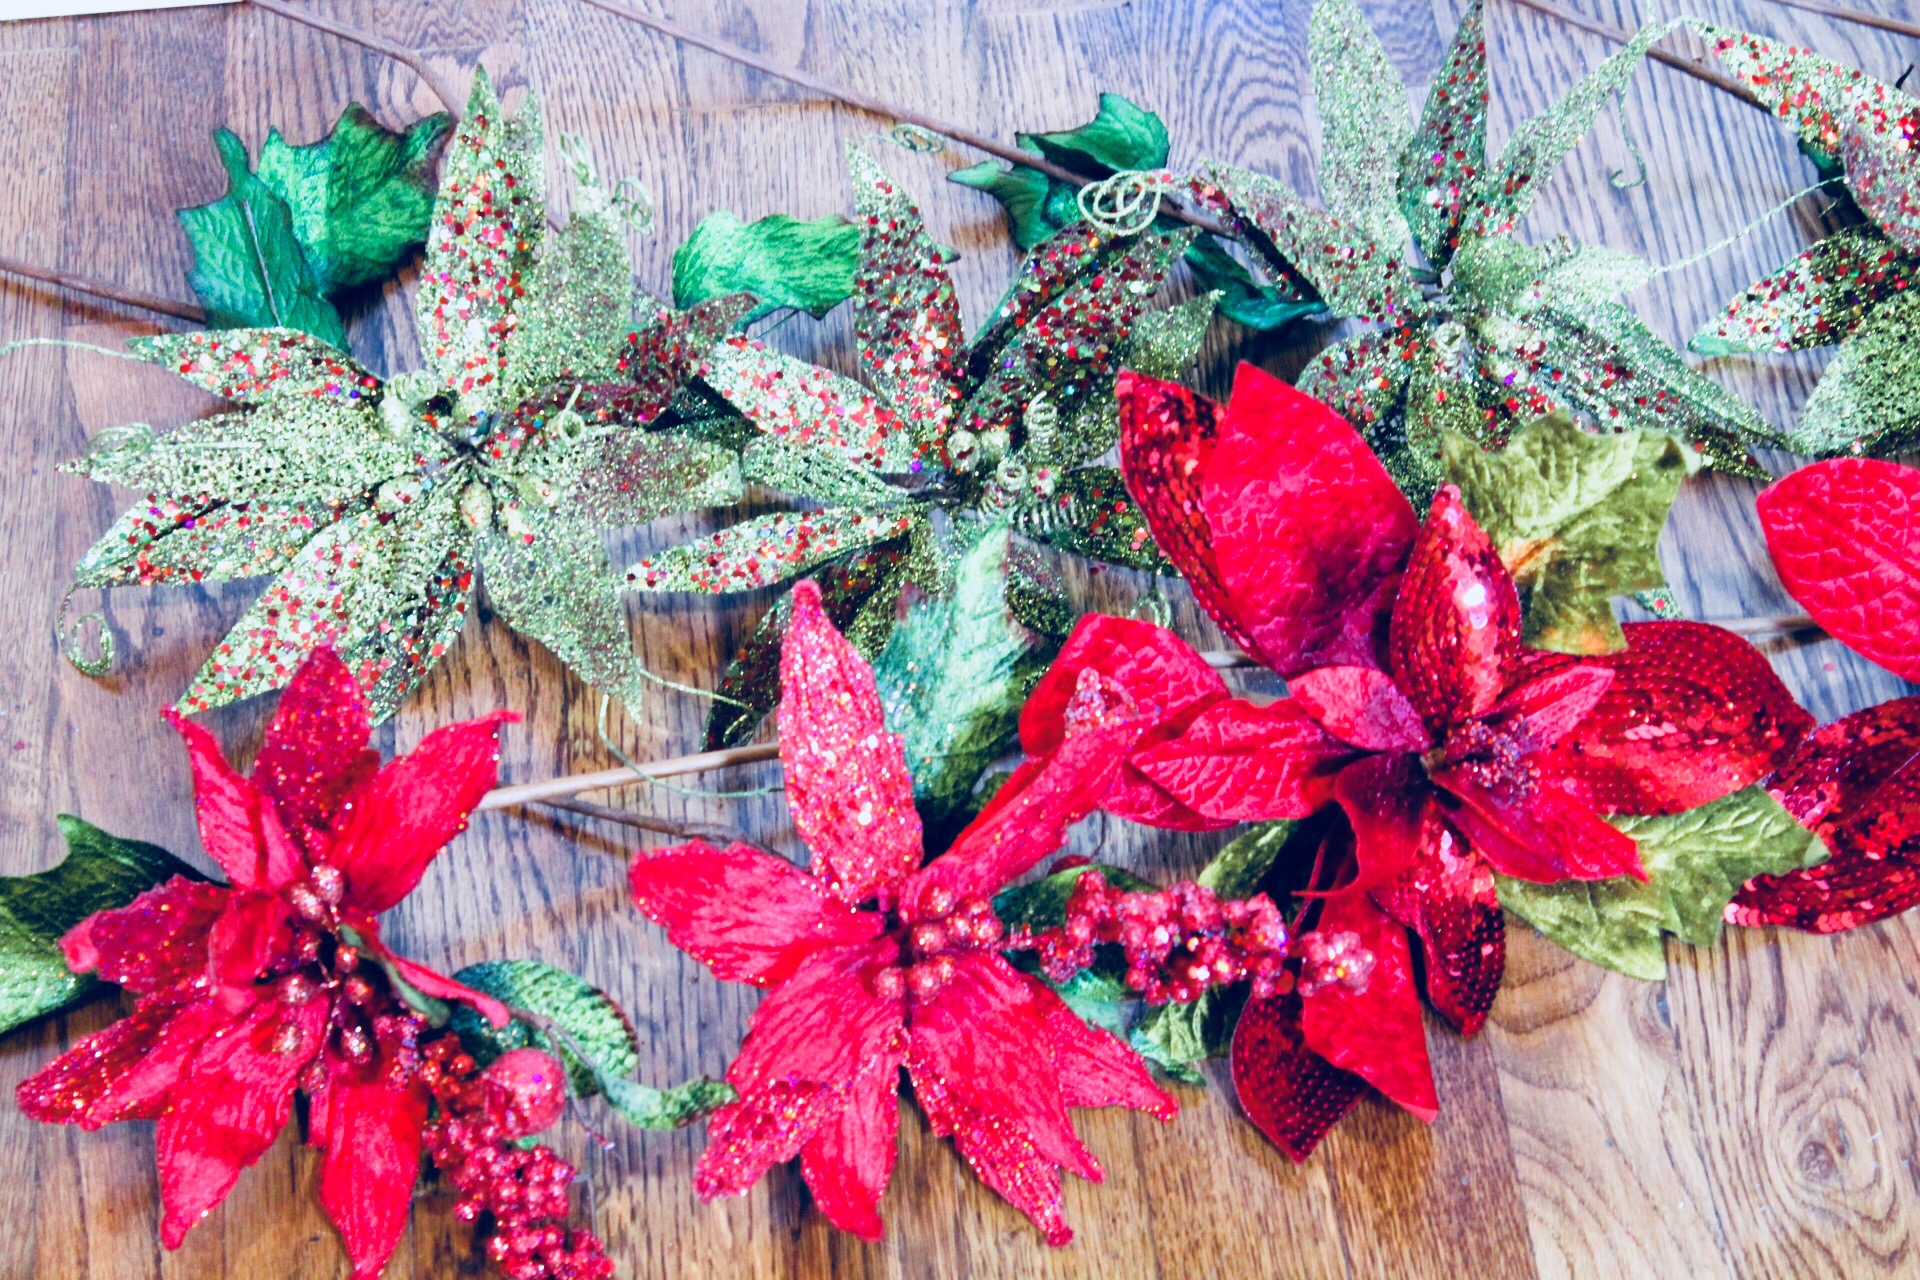
When adding these, I did move some ornaments around. They take up a lot of room, and you want them to be focal points, so it’s important to make room for them. Distribute sporadically and then add the skinny green ribbon on top.

I bought a new star for my topper this year:

And lastly a tree skirt that pulls it all together:

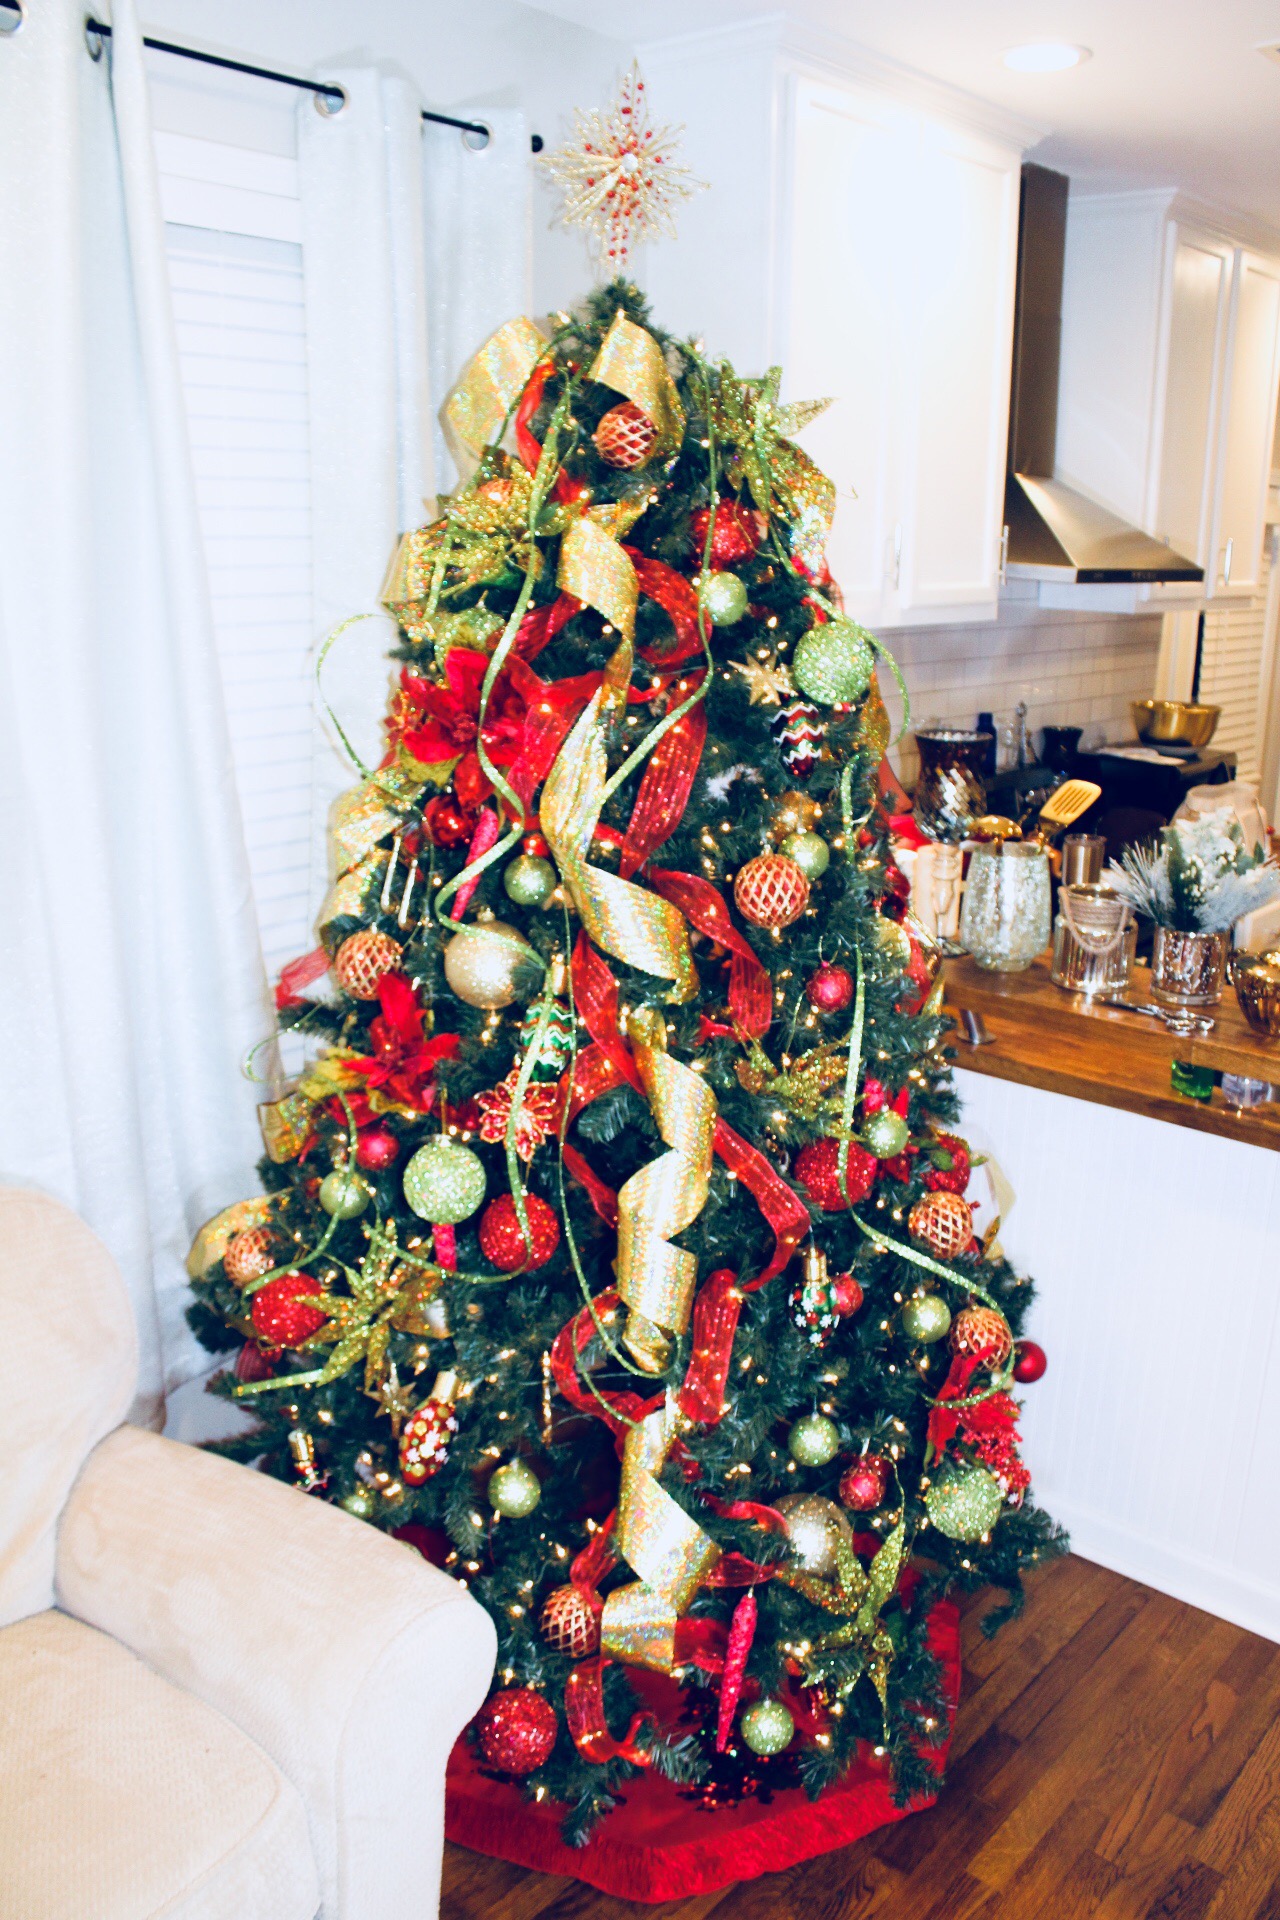
And the final tree:
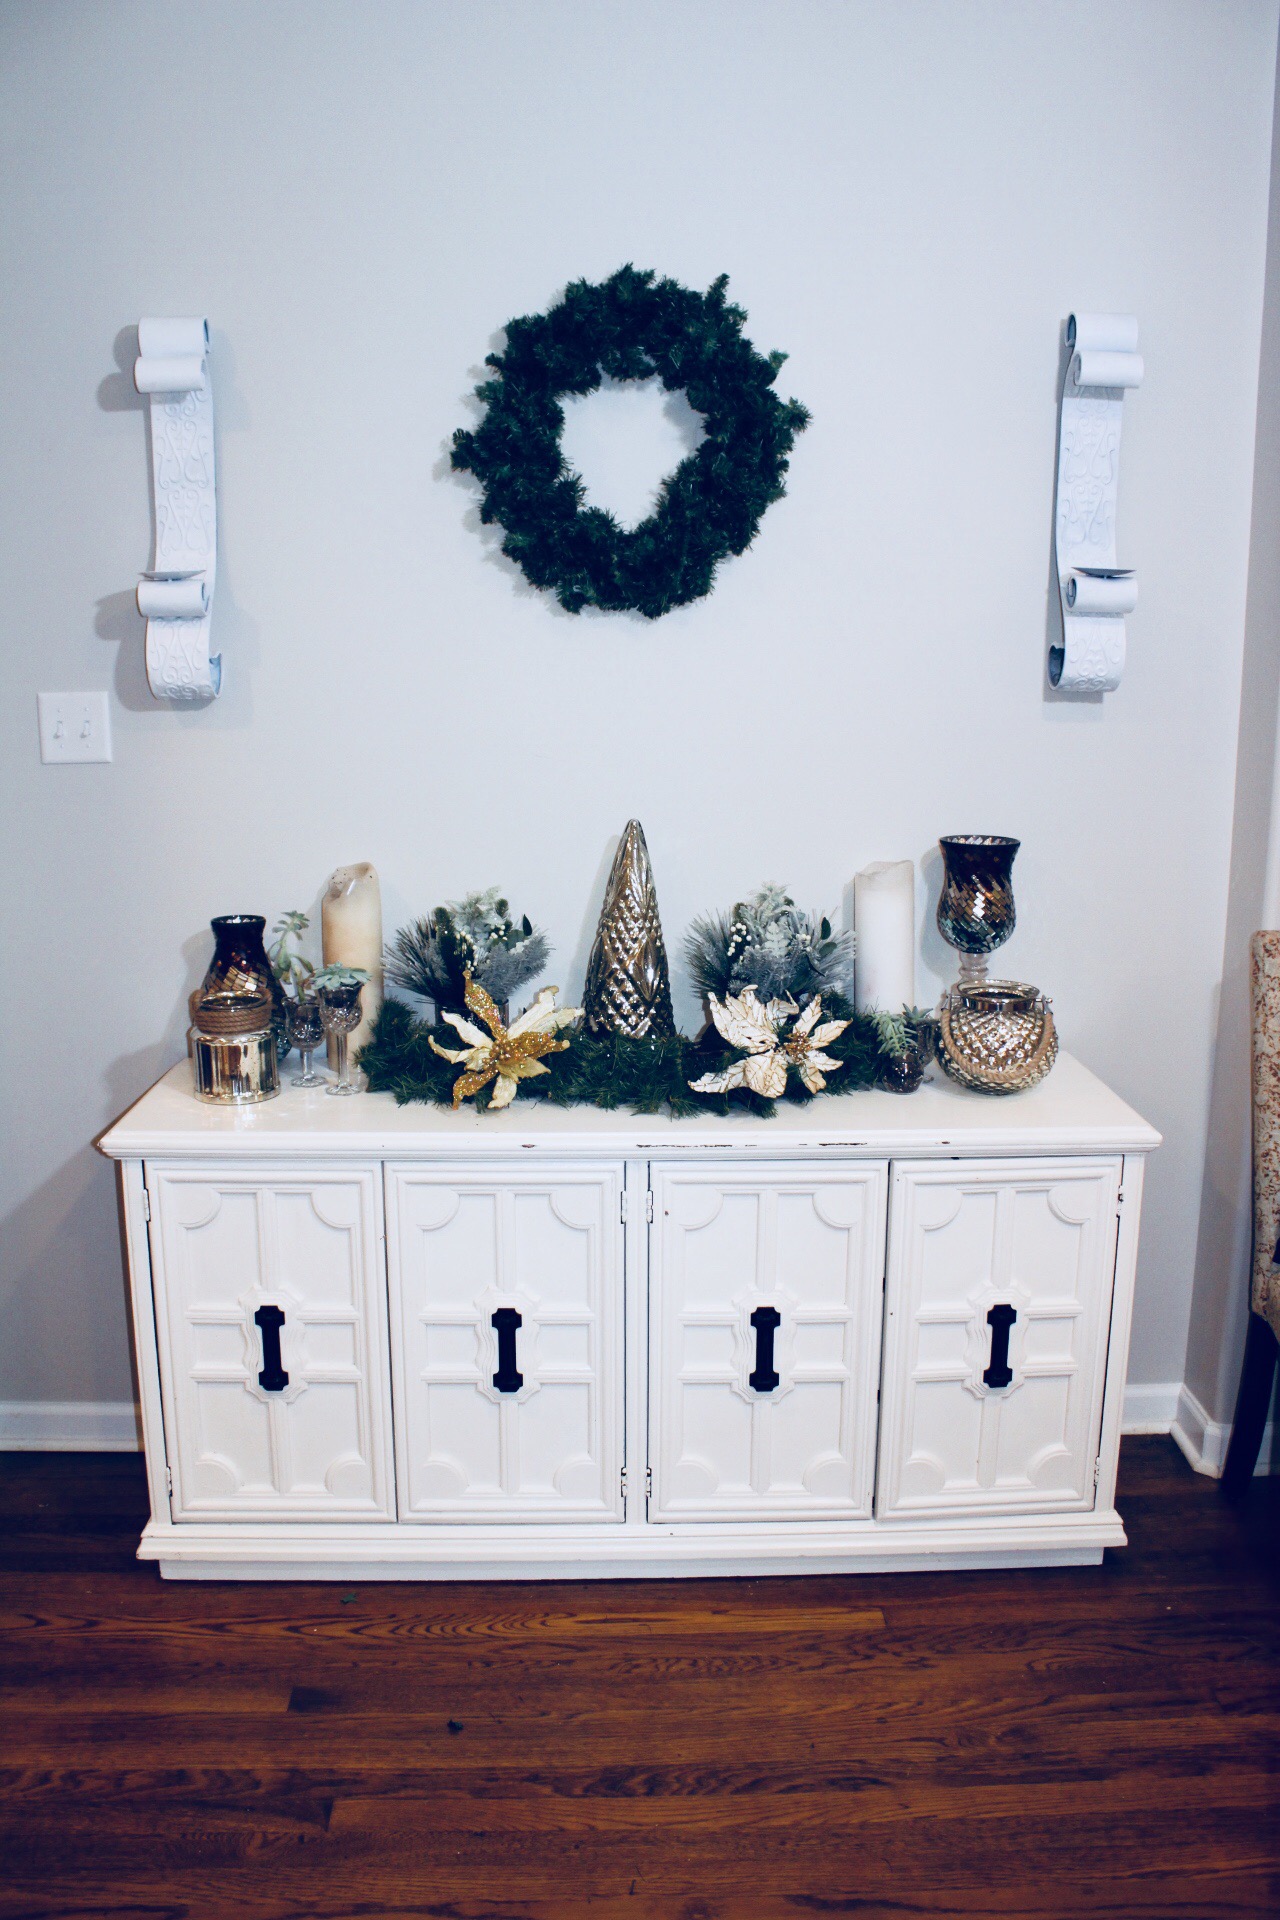
Sadly I do not have a fire place or mantel. I decided to turn my kitchen bar top into one that tied the Christmas tree and the kitchen together.


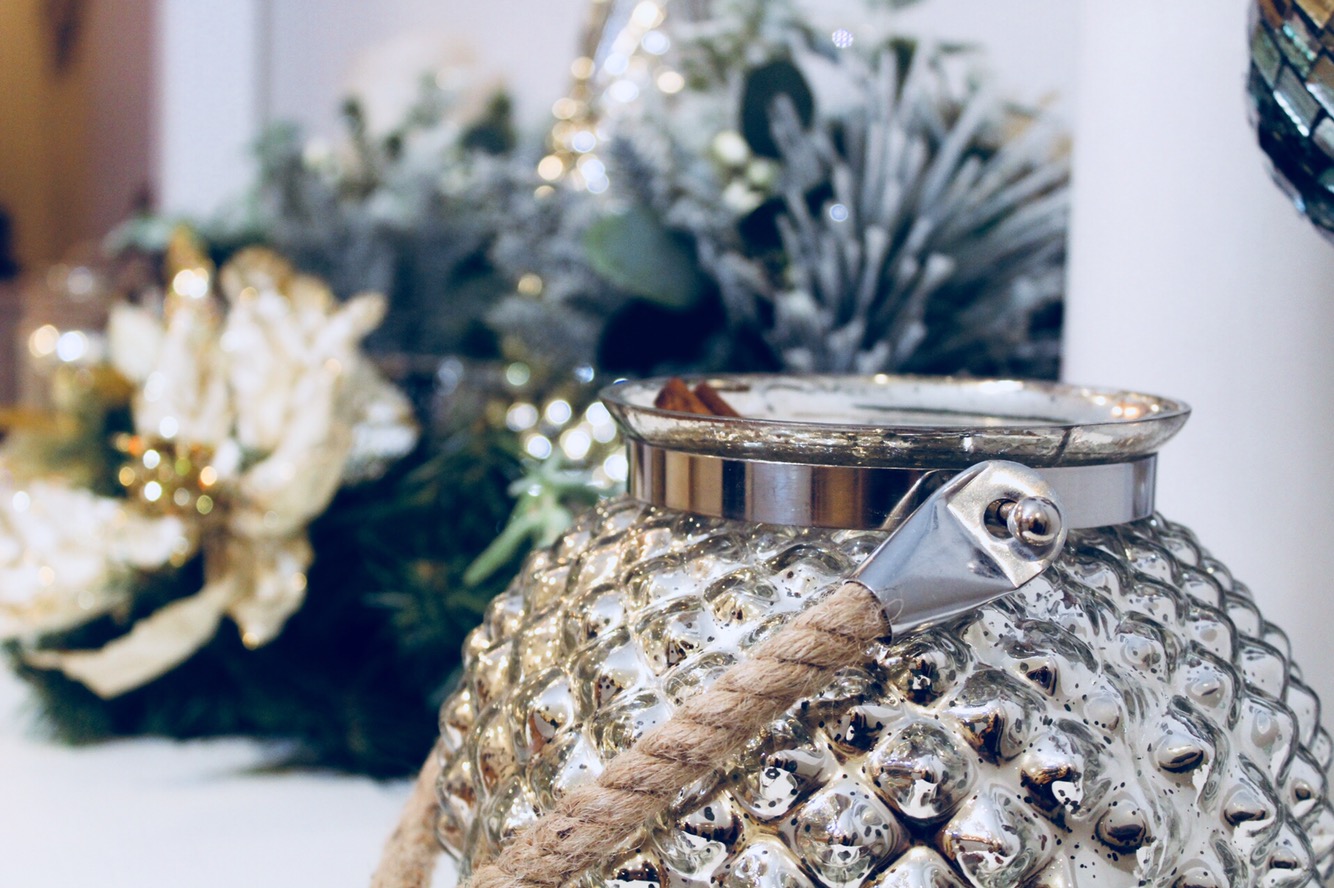
I have been obsessed with mercury glass lately. In my normal house decor it is a running them in my living room. If I️ had more room, I would dedicate a whole section to this theme, but since I don’t, I decided to keep in that theme for one corner of my kitchen.
The colors are cooler but still give you those holiday feelings:
I hope you enjoyed this post! If you need please like, subscribe and leave a comment!